YOUR CART
- No products in the cart.
Subtotal:
$0.00
Click here to see detailed information about the product
Description
Slide Pin Kit
Assortment of Pins and Rings for the Tides Marine SH-401 SS, SH-500 SS and SH-600 SS Slides
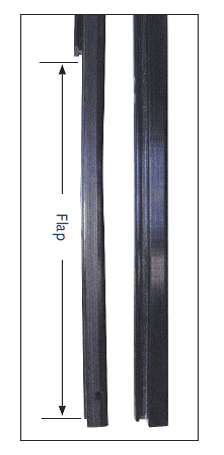
This creates a section on the Tides Track we call the "flap". This flap contains either one-hole or two-hole backing plates. The final step of each installation calls for the installer to snug these backing plates into place, which locks the flap (or base of the track) in position on the mast.
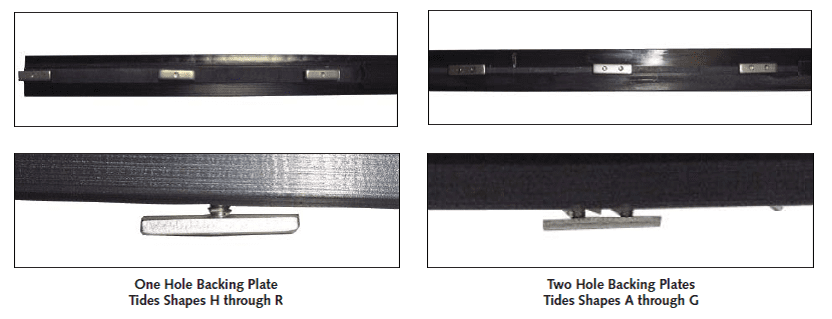
Making this flap an integral part of the whole Tides Track allows you to stack your sail slides below your current mast gate and above the gooseneck. This minimizes sail slide stack height of the Tides System.
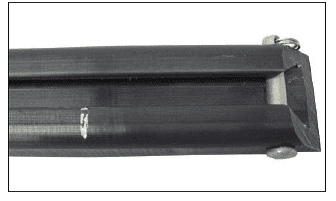

Step 4: Using a carpenter’s square or other straight edges as a guide, cut the top of the track at this mark preferably at a 45-degree angle like the original. You may use a miter box to help with this.

Step 5: In the hardware kit you will find a stainless steel cap approximately 3" long. There are two holes in this cap, one on either side. Press the cap over the top of the track and use it as a guide to drill a hole for the quick pin. Use a 1/4" drill bit and drill a hole athwartships.
You may find it easier to drill halfway through the track from one side and then finish the process from the other.
Step 6: File / trim the leading edges of the top of the track until they are smooth and clean.
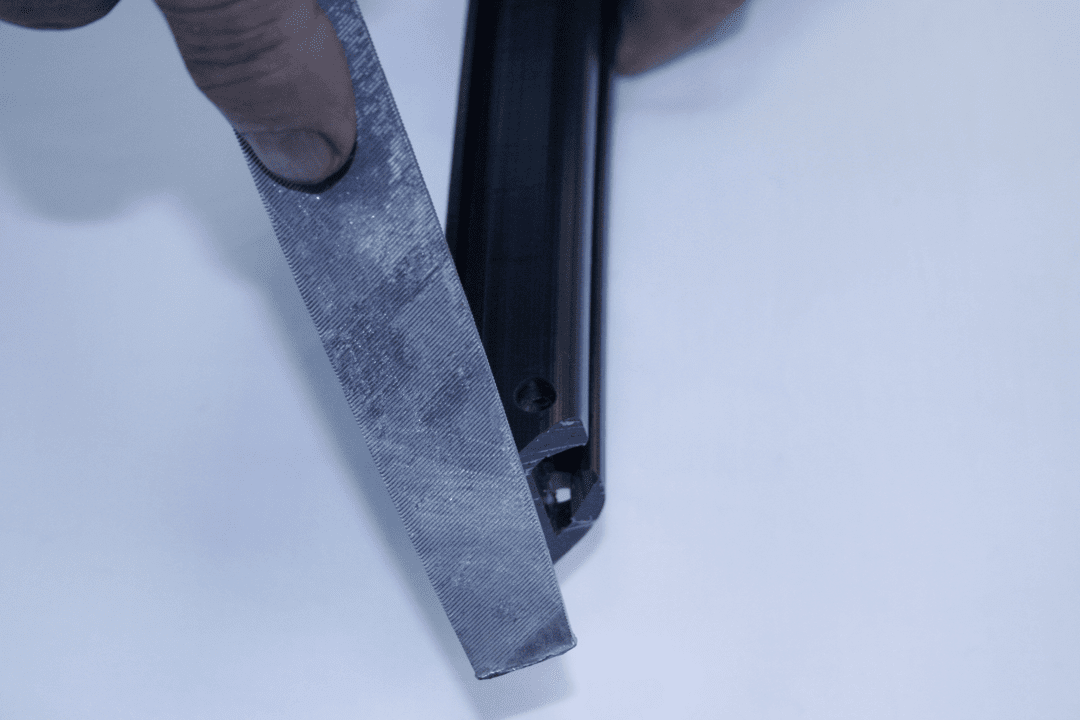
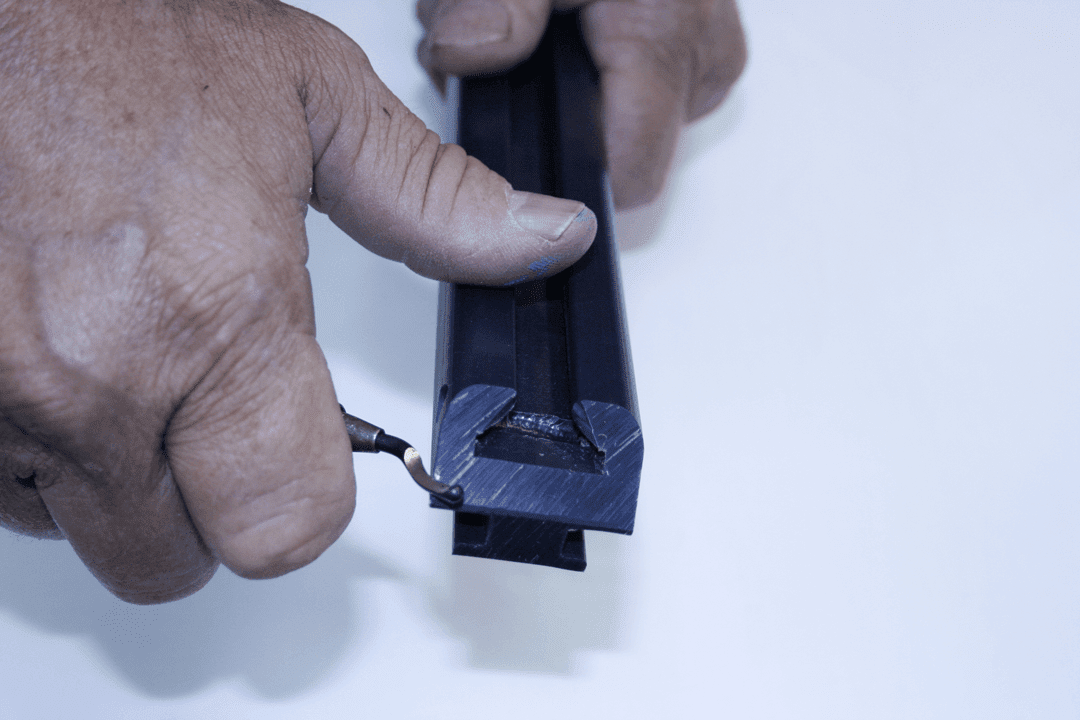
Step 7: Install the quick pin in the hole at the top of the track.
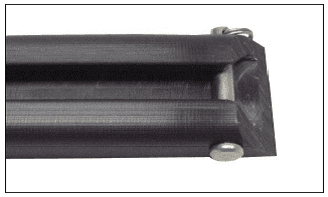
Step 8: Insert the top of the track into the mast gate and push the Tides Track into position. You can now follow the installation instructions that came with your order.
If the Tides Track is too short, Tides Marine can provide a small section of track to correct the situation.
Tides will need to know the length of the extension track required (no more than 18” is advisable). To determine length required:
1) Push the Tides Track up the mast until the top of the track is 2" from the halyard sheave.
2) Tape or clamp the Tides Track to the mast.
3) Measure from the bottom of the Tides Track to where you want the extension track to stop. Add three inches for the removal of the mast gate at the bottom of your existing Tides Track. Is the gate in your mast visible?
4) Call Tides with this information.
Step 1: Tides will cut the required section of track, trim the back of the track to fit your mast and attach two stainless steel connectors to the top of the new track piece.
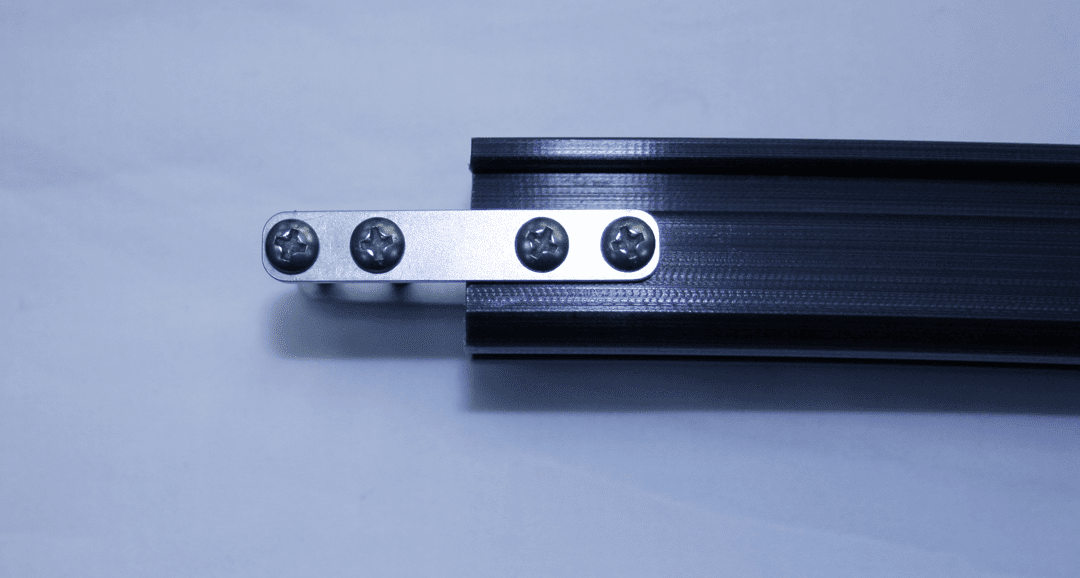

Note: These connectors make it possible for you to simply butt the new piece of track to the existing (or primary) piece of track on the mast.
Step 2: Cut the existing mast gate from your track squarely, then chamfer the mating ends of the track pieces. Slide the extension track into the luff groove and butt it up against the existing Tides Track. Snug the backing plates.
Step 3: Position the connectors over the existing piece of track. Using the connectors as a guide drill two (2) holes in the base of the existing track using a # 29 drill bit (.136"). The holes in the connectors are 9/64". You may find it easier to drill halfway through the track from one side and then finish the process from the other.
Note: To ensure a tight joint, DO NOT drill oversized holes In the existing Tides Track. Make sure you have the correct drill bit before proceeding.
Step 4: Insert a bolt (provided) in each of the two holes. Snug a nut over each of the bolts.
Step 5: Position the joined track pieces where you want them on the mast. Tighten all backing plates and connector nuts.
Step 6: Insert your slides through the new mast gate in the base of the extension track.
Step 7: Position the stainless cap over the end of the Tides Track and insert the quick pin.
Note: The slides should move smoothly through the stainless connectors and over the joint in the two-track pieces. If they don’t, contact Tides Marine for further assistance.
Each Tides Track System comes with a sample piece of track approximately 3" – 4" in length. This sample piece is exactly the same shape as the full-length piece of track in your order.
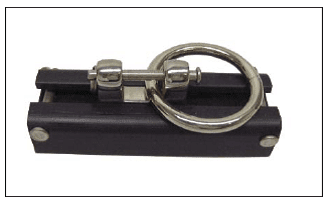
Tides "pins" each end of this sample track and puts a small intermediate slide between the pins. In the slide, you will find a large stainless ring.
Before you install the actual Tides Track in your mast, slide this sample piece of track into your mast gate and up the luff groove. Attach your halyard to the stainless steel ring. Also, attach a small retrieval line to this ring.
Using the halyard, raise this sample track to the masthead to make sure the actual Tides Track can be installed over the entire length of the mast.
Using the retrieval line, pull the sample piece of track back to the mast gate.
If the sample piece of track does not move all the way to the masthead, neither will your Tides Track.
Position the sample piece of track as well as you can against the top / bottom of the mast gate.
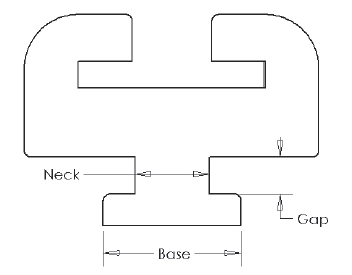
1. If the track section "neck" is too wide to fit in the luff groove, or,
2. If the track section "gap" is too tight on the edges of the luff groove, or,
3. If the track section "base" is too wide to fit within the luff groove.
Once you’ve determined which dimension is causing the problem, use the blue measurement disks (provided with your order) to re-measure your luff groove shape. Contact Tides to determine if you can trim your track to fit in your luff groove. If a replacement order is necessary, you will be responsible for a 15% re-stocking charge.
The Tides Track is available in seamless lengths up to 65'.
Most track systems have track lengths running between 38' and 45' in length.
Monohulls
The average sail area supported by Tides Track systems is between 450 and 700 square feet.
The maximum sail area using the Tides Track system is found on a Camper-Nicholson "day boat" in the Seattle area. The total area of the main is almost 1,000 square feet. This boat sails within a defined area from its mooring and rarely sails in winds in excess of 25 – 30 knots. It is never out overnight.
Today’s full–battened mains often have more roach than the average sailing vessel of 15 years ago. This type of sail shape puts far more load on the Tides Track and rigging.
If you have any questions regarding your particular application, please contact Tides Marine.
Multi-Hulls
The average sail area supported by Tides Track systems is between 350 and 600 square feet. Multi-hulls sail much stiffer than monohulls. This, coupled with the large roach area on the sails of today’s multi-hulls, places far greater load on the Tides Track system.
Many multi-hulls require the use of an alternate headboard car
(see Alternate Headboard Cars.) The loads created by large roach areas and full battens can cause conventional Tides Marine headboard slides to pull out of the Tides Track while underway.
Storm Tri-Sail Track
Tides recommends that its track system not be used to support storm tri-sails. When these sails are deployed, weather conditions are abysmal.